The first choice I made regarding locking my new bike in my garage as well
as to outdoor bike racks was to get a lock. Since the advent of battery
driven angle grinders, a new style of u-locks have evolved to provide at
least some resistance to this line of attack. This is the lock I decided to purchase:
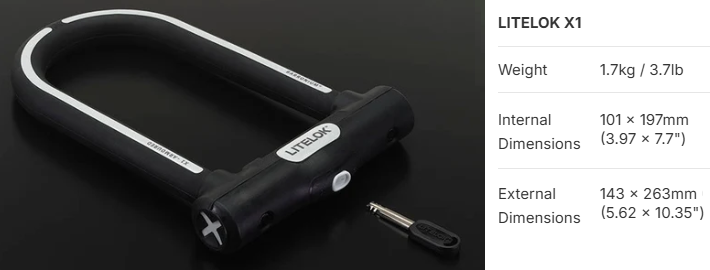
There are locks available that have even more resistance to angle grinders,
but they are significantly heavier to carry around, and I thought this lock
represented a reasonable balance of convenience and safety.
Note: You can click on any picture below to see a larger image.
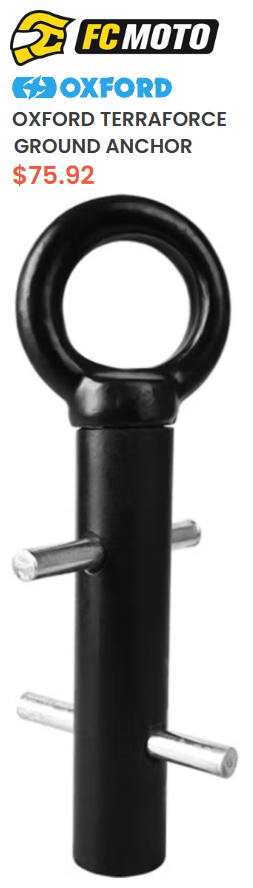 There really was no secure place in my garage to lock my bike to, so the next
consideration was to build an anchor that was at least as difficult to defeat
as my bike lock. I chose the Oxford anchor shown to the left.
Often the Oxford ground anchor is put directly into the floor of the garage by
breaking up a portion of the concrete, filling the hole with cement and
sticking the Oxford anchor into the wet cement. The anchor loop would be just
barely sticking up above the floor and this would be suitable for using a heavy
chain lock but wouldn't work for a u-lock.
I determined that 21" would be the optimal height for the anchor loop to allow
me to lock both the rear wheel and the frame of my bike. Building an anchor that
tall attached directly to the garage floor would be difficult and in any case
I did not really want to permanently modify my garage floor. So I decided the
next best thing would be to put the anchor in a box filled with concrete that
was heavy enough to dissuade a thief from taking my bike with the anchor still attached.
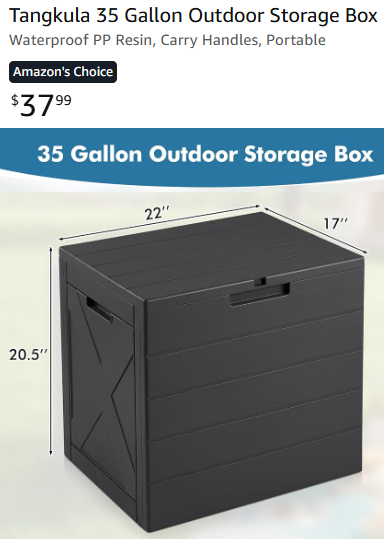
I purchased the plastic box shown to the right for this purpose. The box is
17 x 22 x 20.5 / 12^3 = 4.437 cubic feet and the internal volume is about 4.2
cubic feet. I added about 50 pounds of scrap metal to the mix (about .1 cubic feet)
leaving 4.1 cubic feet for the concrete. Each 60 pound bag of concrete yields
.45 cubic feet, which means the box could be filled with about 9.1 bags of concrete.
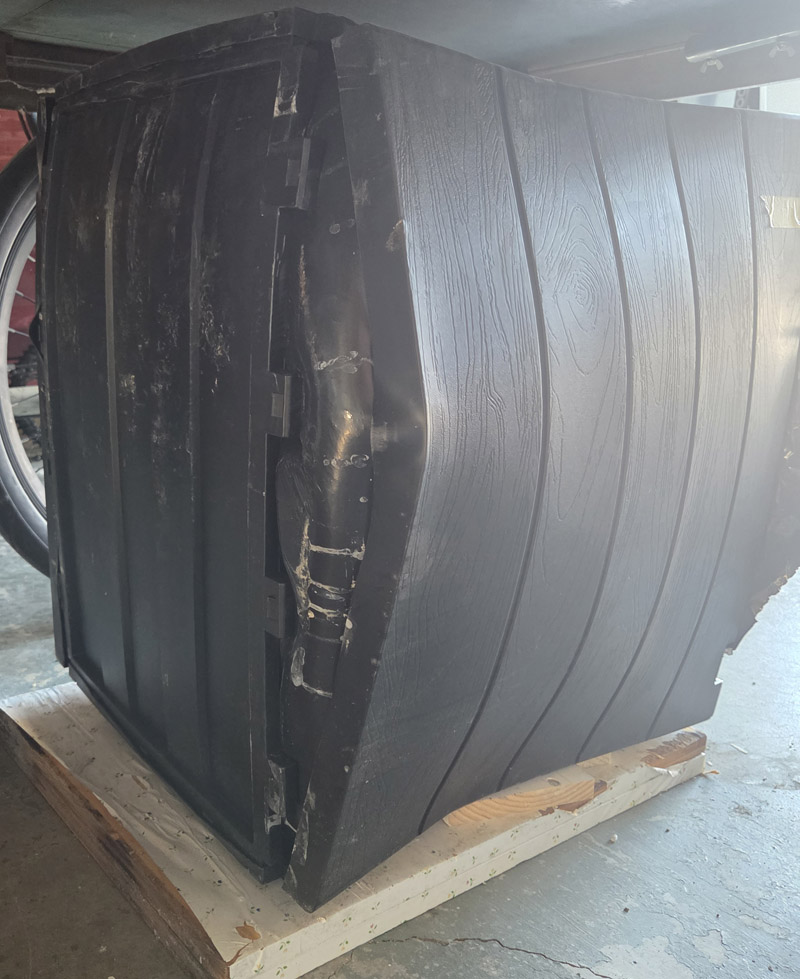
I used two ratchet straps to hold the box together. Without these straps the
box would have split apart well before all the cement was added (and probably
after adding just the first couple of bags). However to keep the shape of the
box you would probably need at least 3 ratchet straps. Also I did not fasten the
straps very tightly which is why the box bowed out increasing it's volume.
I had purchased ten 60 pound bags of concrete figuring that I would probably
have to return one of them. However actually I was able to pour in all 10 bags
of concrete because of the bulging box.
 The cured weight of each 60 pound bag would be about 64 pounds so the total
weight of my anchor is 10 x 64 + 50 = 690 pounds. With the bike attached and
the weight of the accessories plus the lock, a thief would be need to drag a
730 pound object and lift it onto a truck. Few thieves would risk the
attention that would bring.
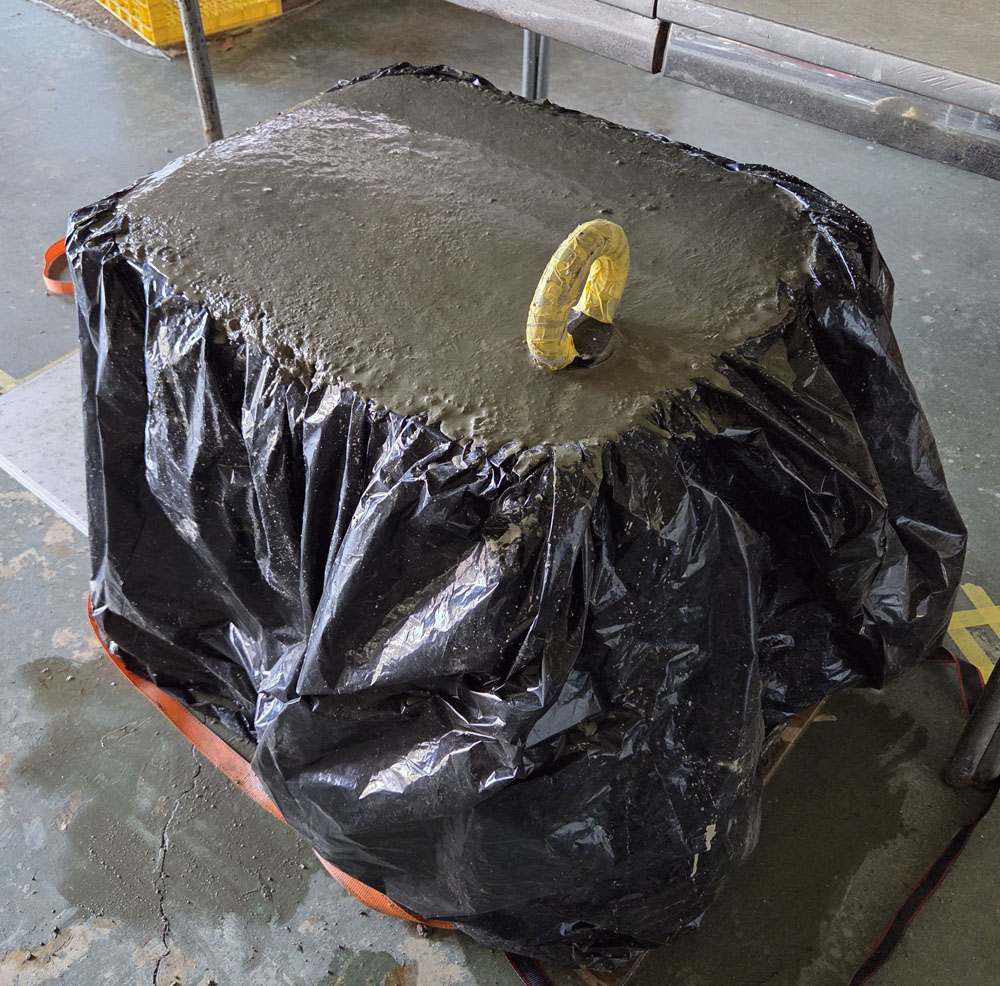
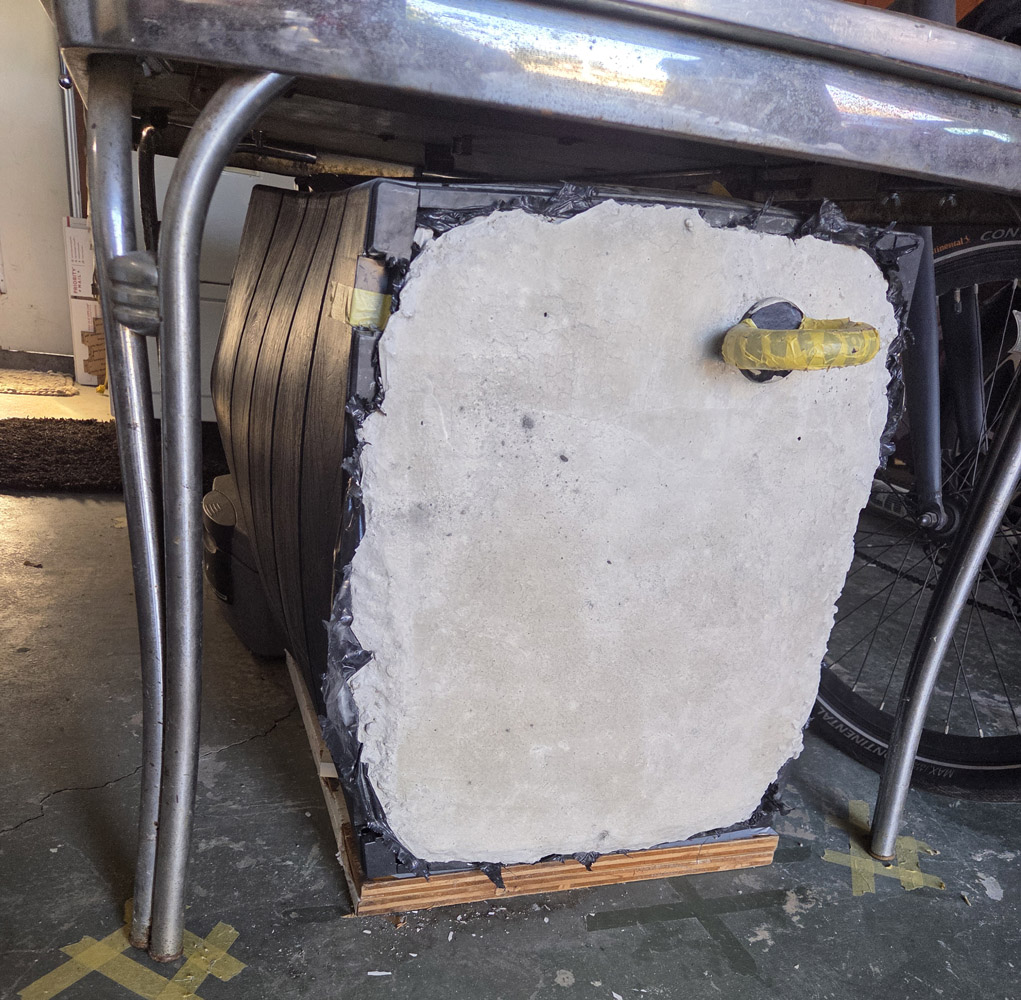
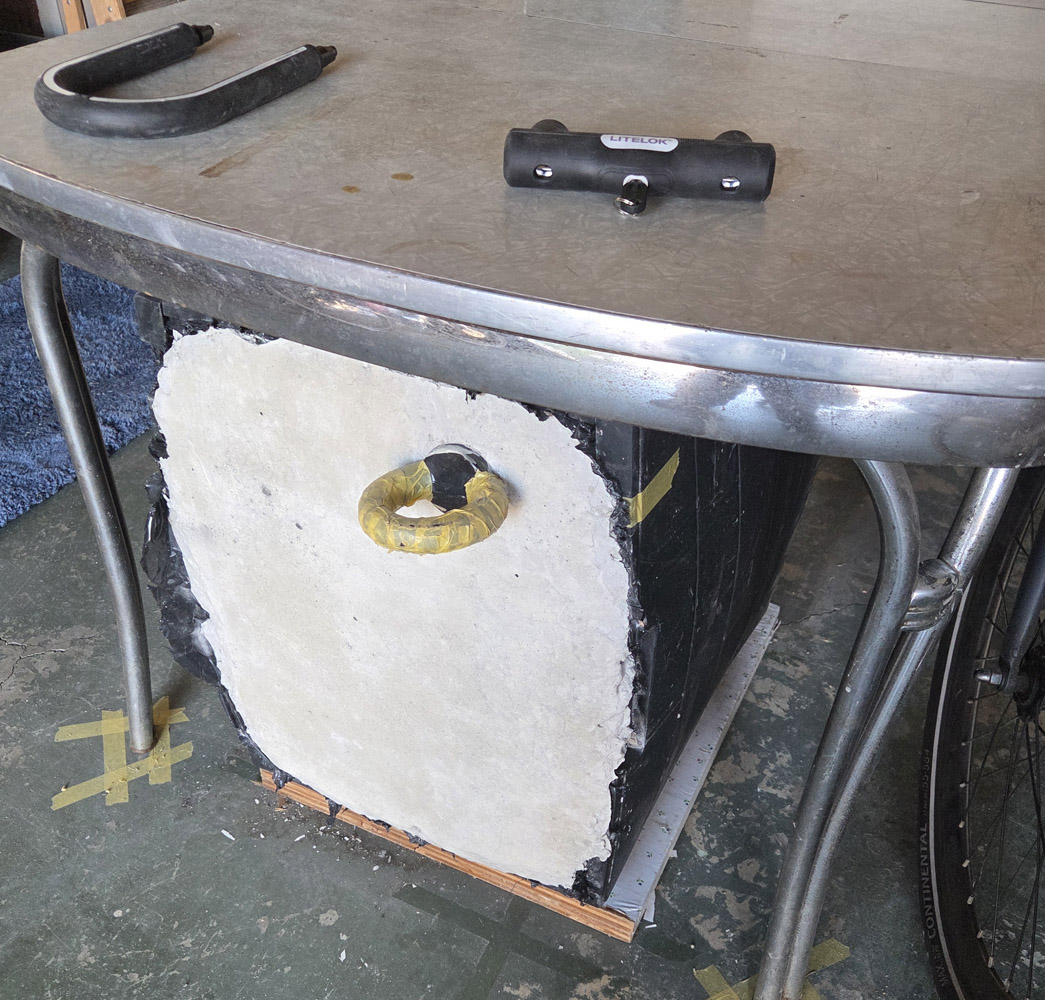
On the left is a picture of the box just after the concrete was poured and
the Oxford anchor was pressed into it. The short horizontal rods you see in
the picture of the Oxford anchor (above) is probably sufficient that you
couldn't get the anchor out of the concrete by hitting the anchor with a heavy
mallet. But to put that risk out of my mind I replaced the lower horizontal
bar with a four foot length of rebar I happened to have lying around. Then I
bent the rebar so the anchor would fit it the box.
The picture to the right shows clearly how much the box bulged due to the
weight of the concrete. BTW, you should keep the top surface wet for the
first 5 days or so to prevent it from drying too fast.
 After a week I decided it had cured long enough that I was willing to tip it
90 degrees into its final position. This is a job that will be much easier
with an extra person. First I used a long crowbar to lift an edge enough to
get a jack underneath which I used to tip it far enough to get a bigger jack
underneath. I alternated shoving wood underneath to support the block,
pushing the jack farther in, and raising some more. Once getting close to
the tipping point I stacked scrap wood on the other side so that the block
would rest on the stack after falling just a few degrees from it's tipping point.
Then I used the long crow bar to upweight the block so we could remove some
wood and lower the block more and continued this process until it was level
in its final position. If you are attempting something similar, this is the
most treacherous step. If you get to a point where it looks like the wood
stack might slide out, stop and reconsider your method. If the block rolls
r falls in an uncontrolled way you would probably damage the block or the
floor or both, not to mention you could seriously injure yourself.
I was pleased to see that the anchor loop was pretty close to my target of
21" from the garage floor. (That's why I used two scrap pieces of 3/4"
plywood underneath ... for the extra height.)
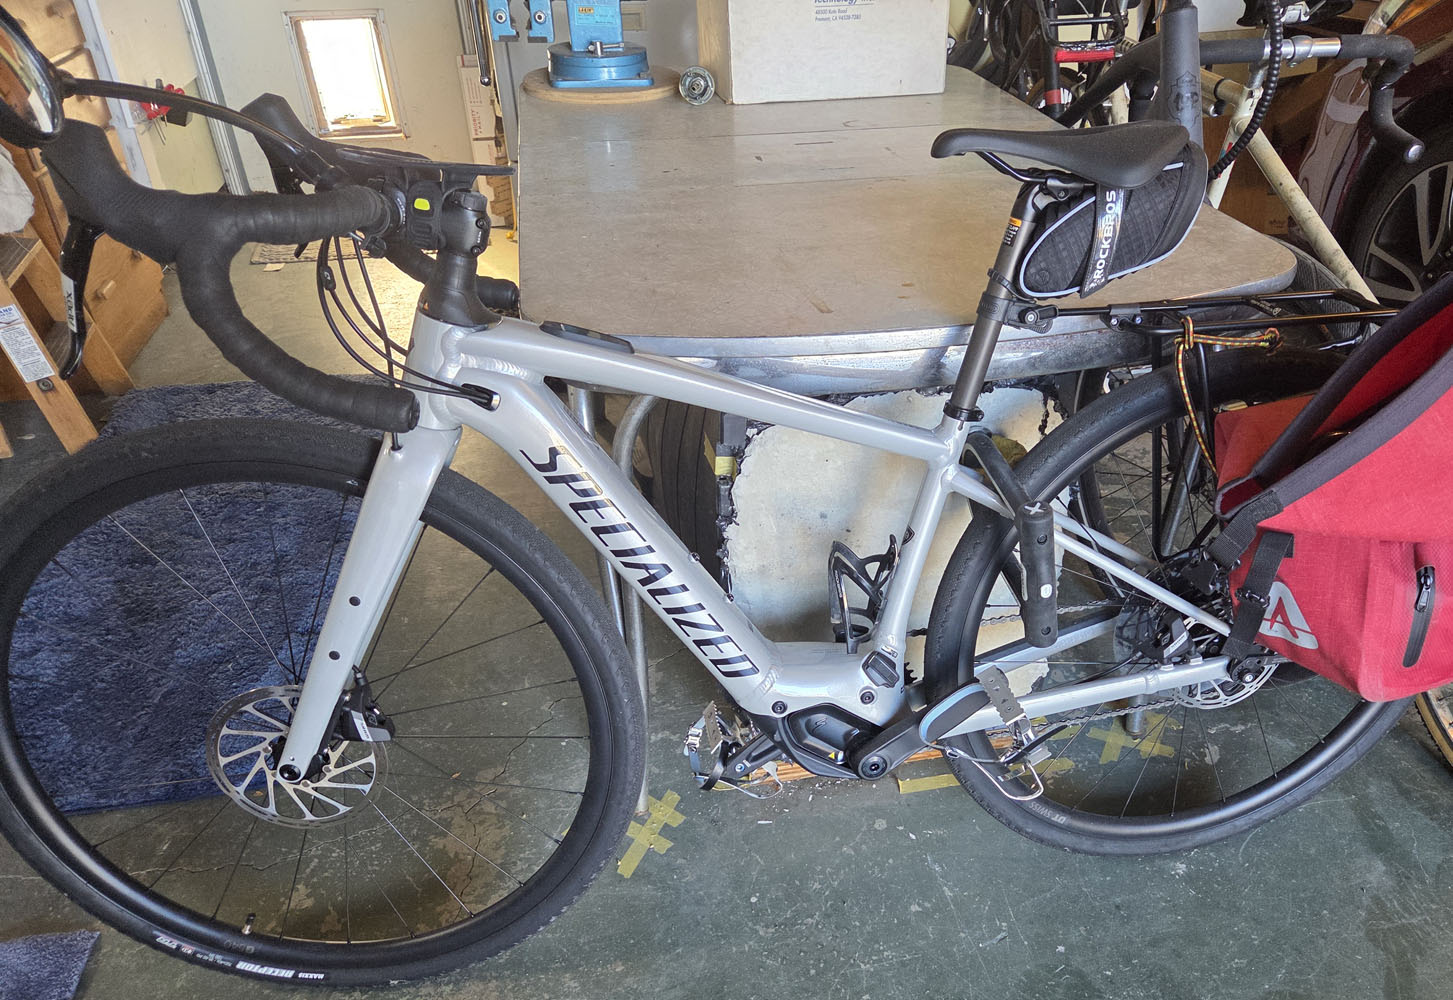
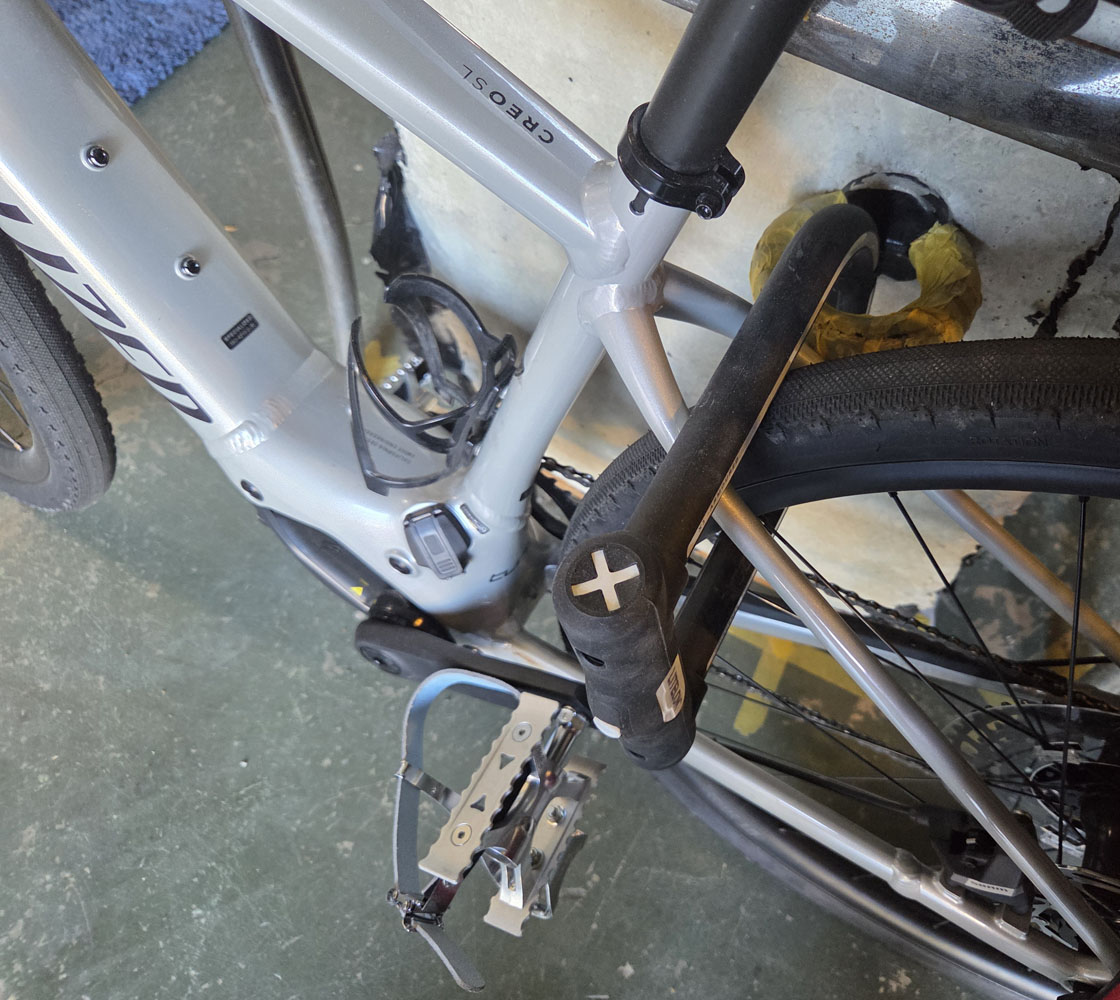 The picture on the left shows the lock in a horizontal position suggesting
the loop was placed at pretty much an ideal height. On the left, the lock
is angled down toward the left side of the bike. I that position the weight
of the lock against the bike frame helps hold the bike in a vertical position.
Note: You can click on any picture on this page to see a larger image.