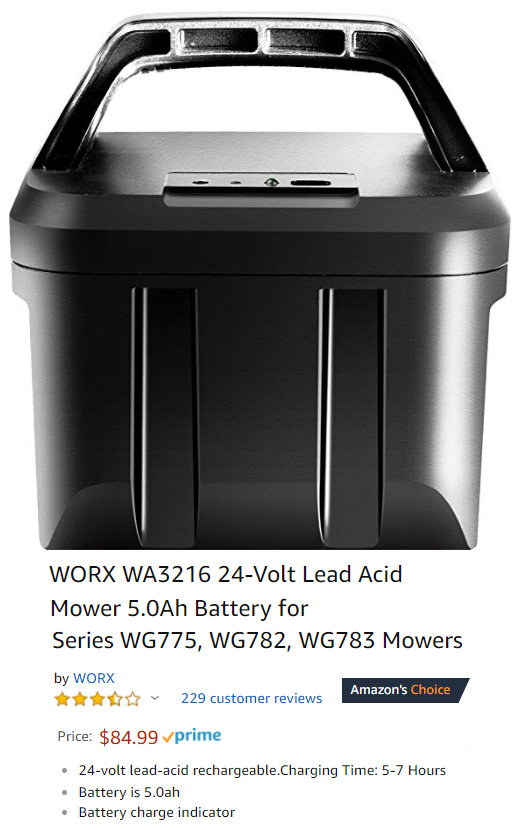
If you have an older Worx lawn mower you probably use a lead-acid battery something like this one. The problem with lead-acid batteries in this application is that the battery doesn't last very long because of repeated deep discharging. I found that I had to replace the battery every year which gets annoying and expensive.

The solution I found to this problem was to replace the two 12V lead acid batteries that are inside the Workx WA3216 battery case with a 12 amp hour 7 cell lithium battery such as this one that I found for sale on Ebay. Note that the cost is about the same as buying a new Worx lead-acid battery and the long term cost will be much less because this battery should last many years. (Note that the charger pictured is shipped with the battery.) Also this lithium battery has more than twice the capacity, so the mower should run at least twice as long before needing a recharge as it did with the original lead-acid battery.
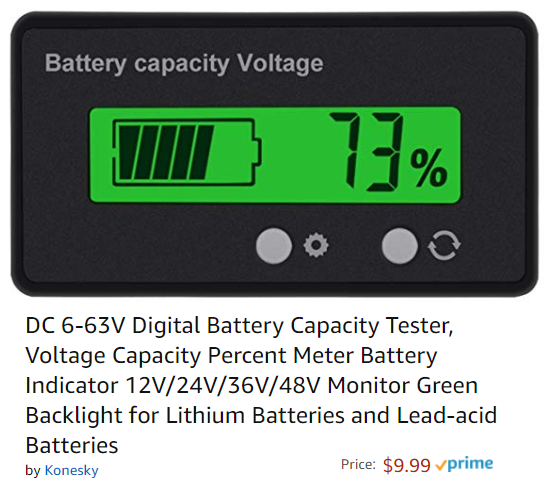
It's not essential to have a volt meter on the battery, but for the minimal additional cost the meter gives you confidence that the battery has been properly charged and that you will have the capacity needed to finish your mowing job. This meter is perfect for the job because you can enter in the settings menu that you are using a 7 cell lithium battery and the meter will use that information to calculate the percentage of full capacity. (You can find the meter's setup instructions on the Amazon page for this product.)
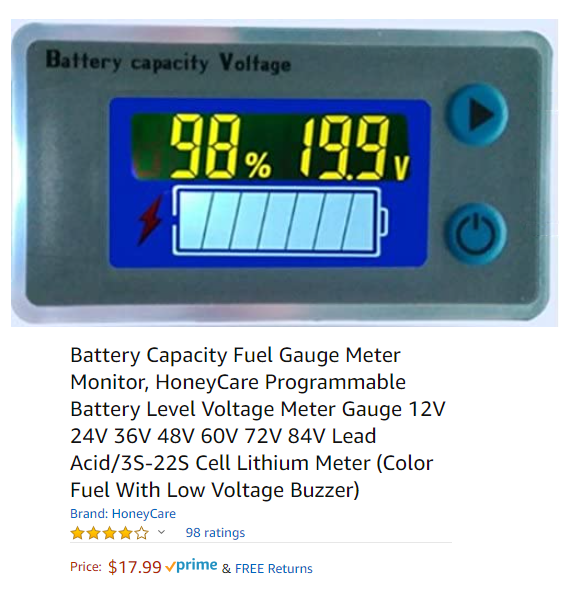
If you can't find the meter shown above, there are dozens of similar meters that will also do the job. One that I have also used is shown here. It is somewhat more expensive than the other meter but it has a better display and also has a low voltage alarm function which you may find useful. The only drawback is that the instructions are hillariously translated from Chinese but with a little expermentation you should be able to set it up as desired.
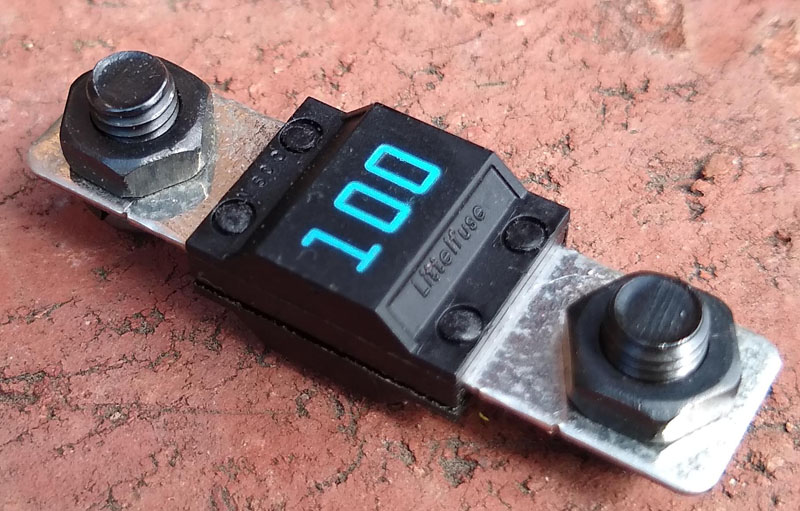
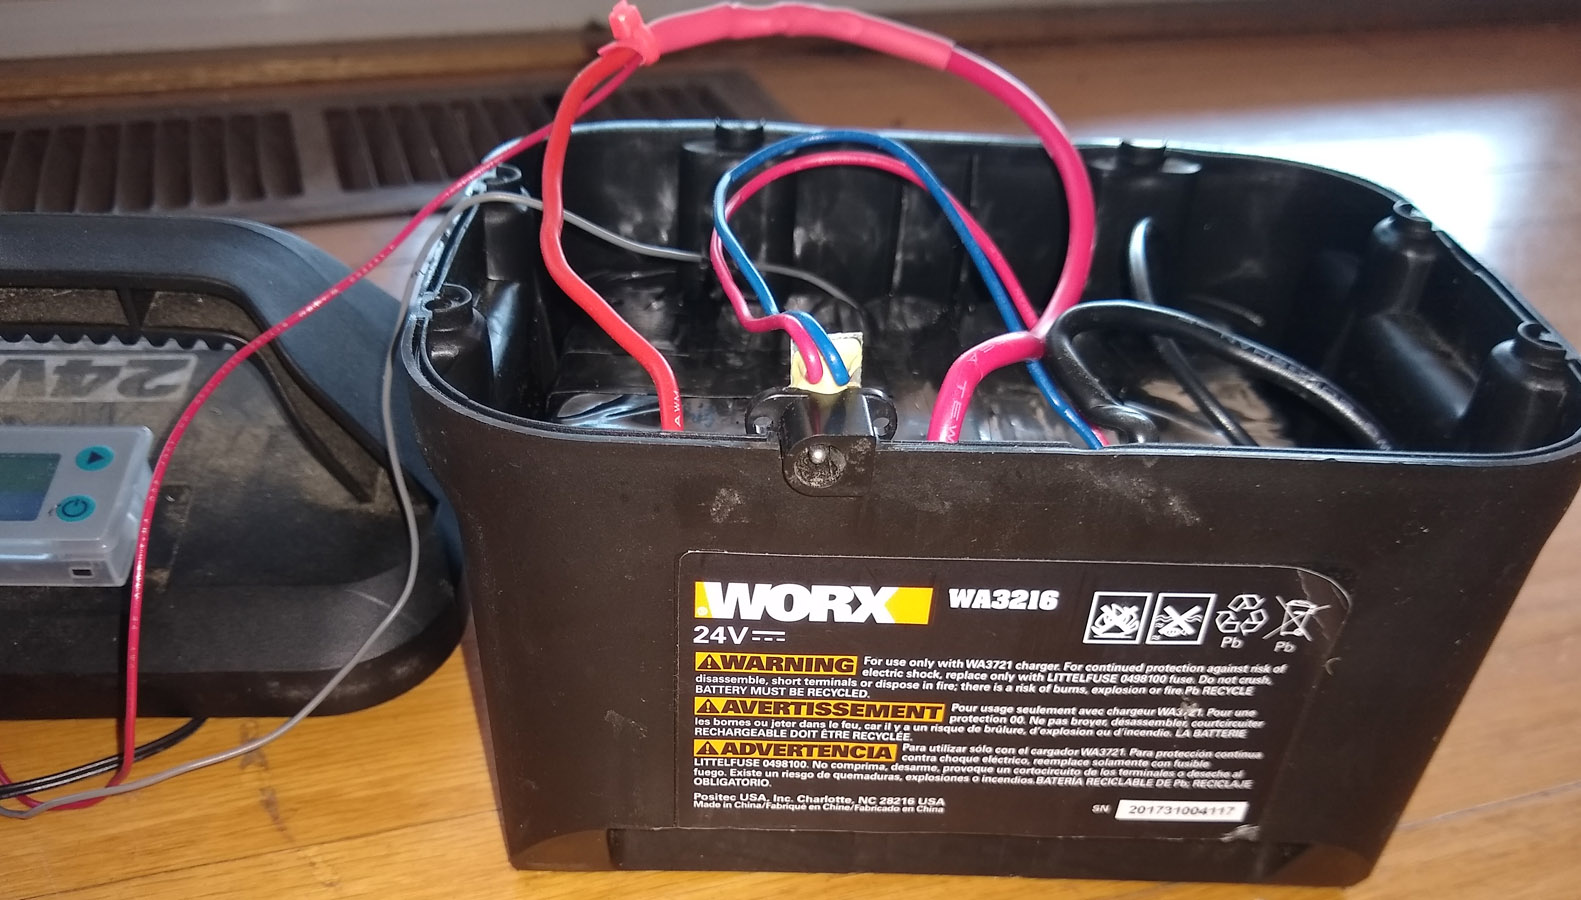
Discard all the electronics inside the battery case except this fuse which you can reuse in the new circuit. You can also reuse the thick red and black wires used to deliver power to the mower.
(Click on this image to see a larger picture.)

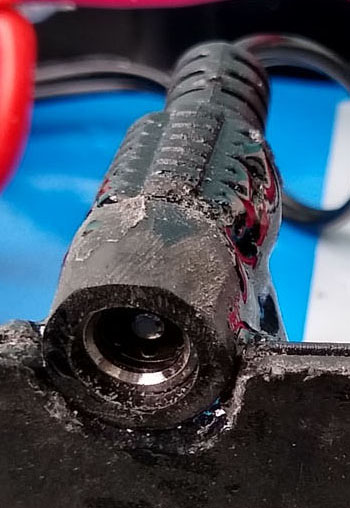
Connect the negative (black) wire from the battery to one end of the fuse and cover it with heat shrink tubing (white tubing in this picture). Connect the thick black wire from the mower power connector and the black wire from the meter to the other end of the fuse and cover it with another piece of heat shrink tubing (also white). The wire with the red shrink tubing is the battery charging cable. (The red shrink tubing isn't necessary.)
(Click on this image to see a larger picture.)
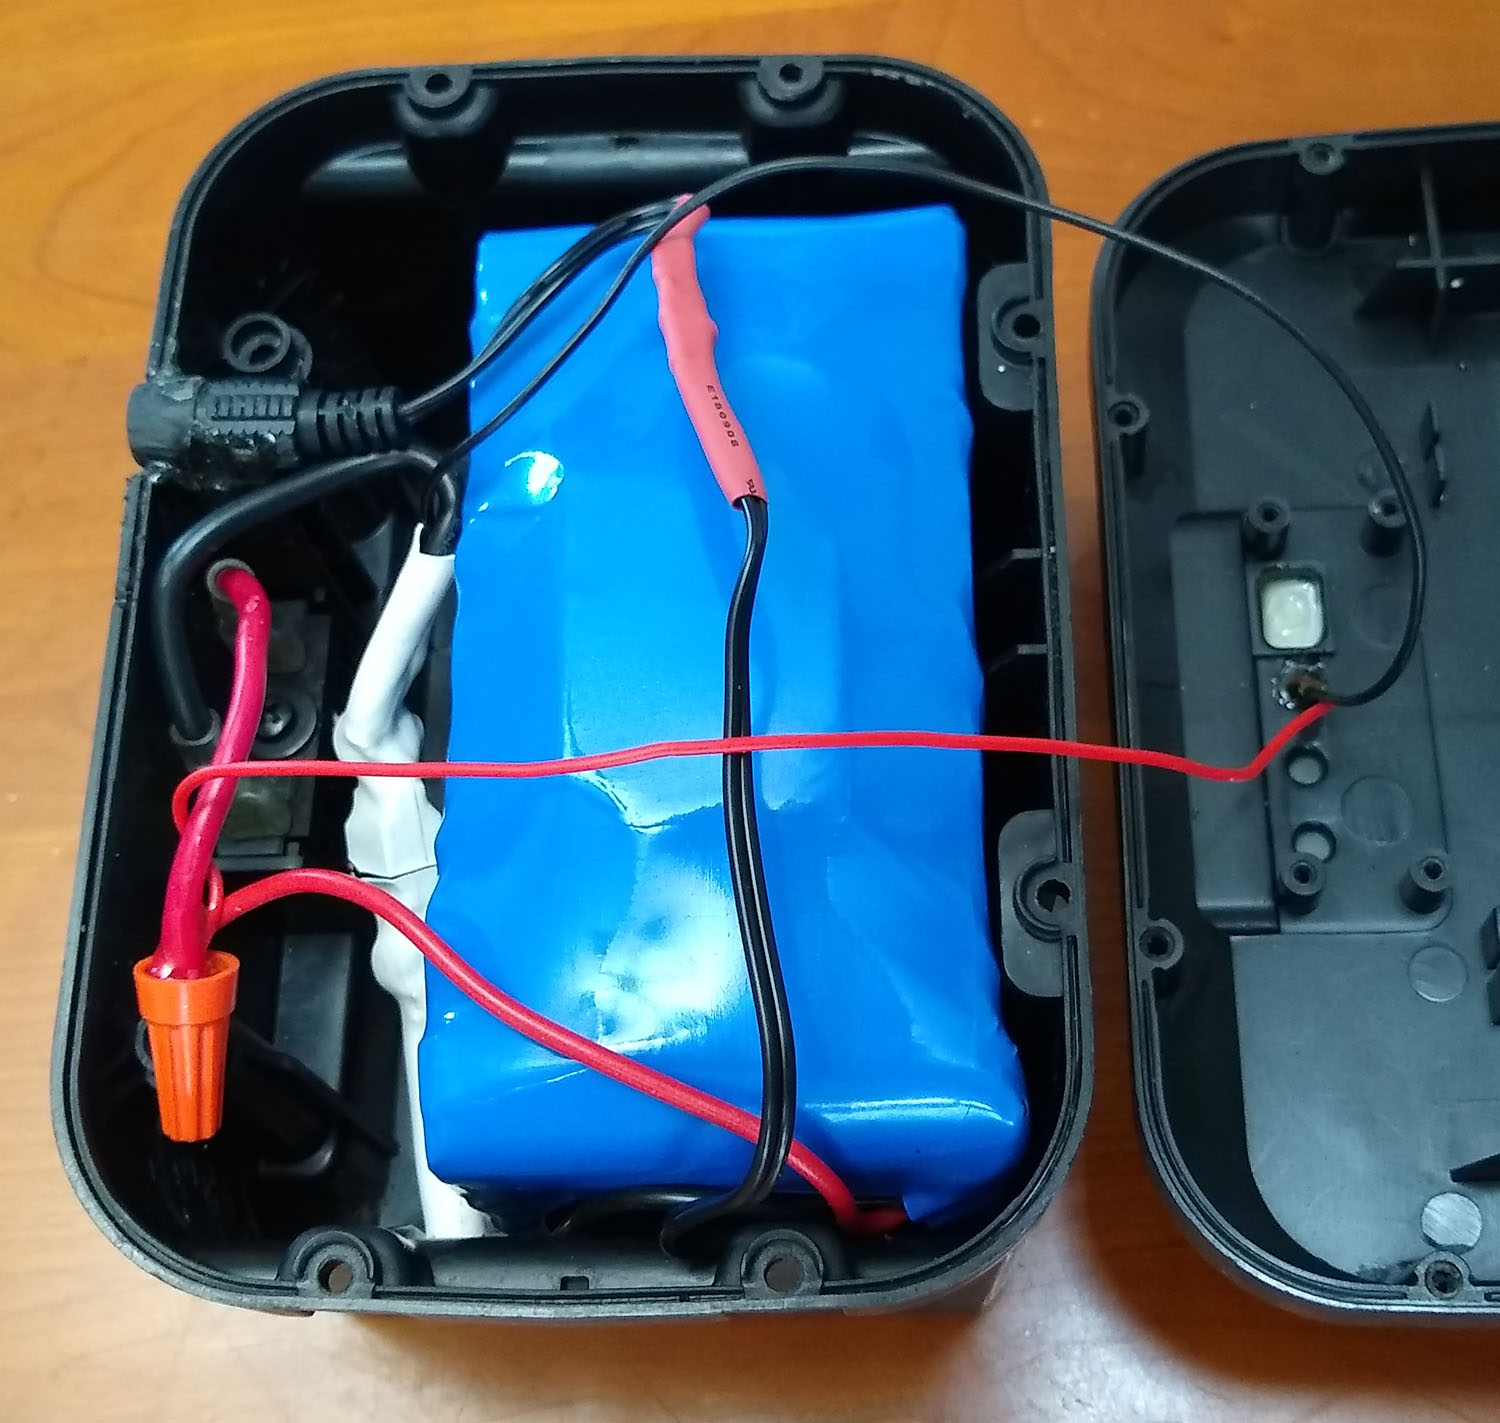
The orange twist-on connector was used to connect the thick red wire from the mower power connector to the red (positive) wire from the battery and the red wire from the meter. I put some epoxy inside the twist-on connector to make sure it couldn't fall off, althought that will make it harder to replace the battery if that ever becomes necessary.
(Click on this image to see a larger picture.)
Use epoxy to glue the battery charging port to the hole that used to contain to discarded charging connector. The charging port must be flush with the outside of the case because if it sticks out it will prevent the battery from sliding fully into the mower. You will need to use a file to make the hole slightly larger so that the charging connector to fit.
Update note: Although this works fine, I later realized that there is a far easier way. As shown below in my second iteration, it is far easier to cut off this charging port (that comes with the lithium battery) and solder on the old power port plug that comes with the original Worx battery. That way you don't need to do any carving or gluing to get the power port installed.
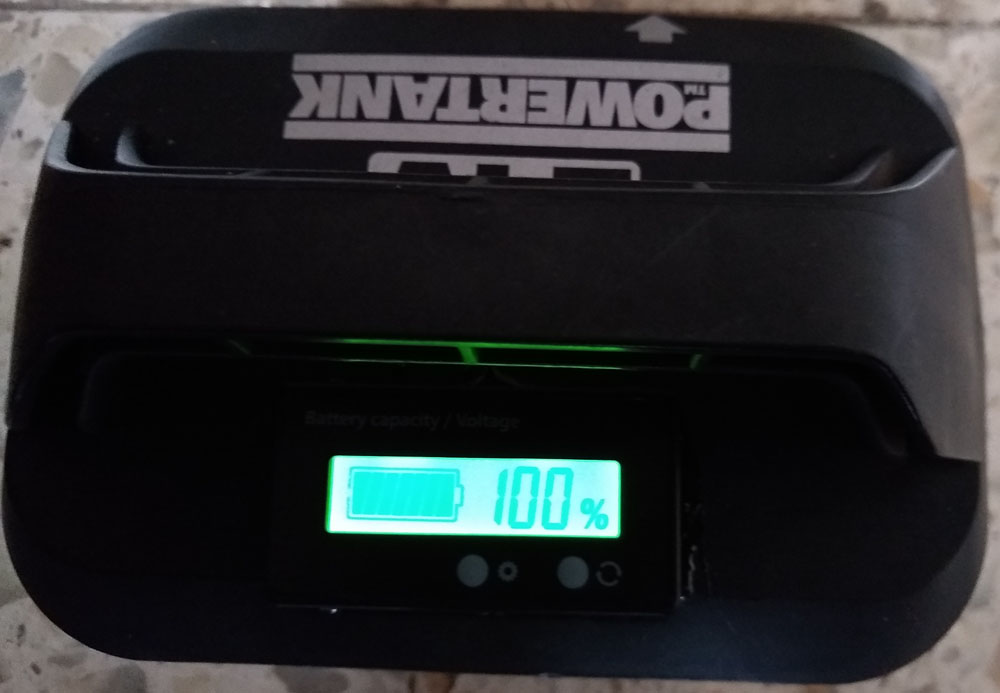
With the default meter setting, the display shows the battery capacity in percent.
(Click on this image to see a larger picture.)
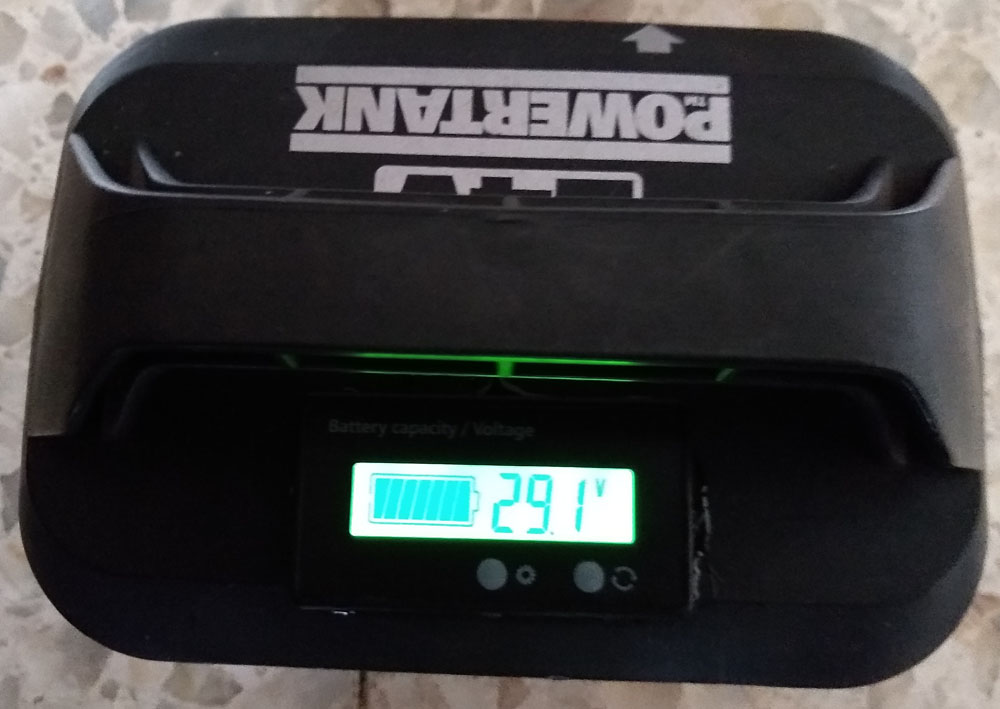
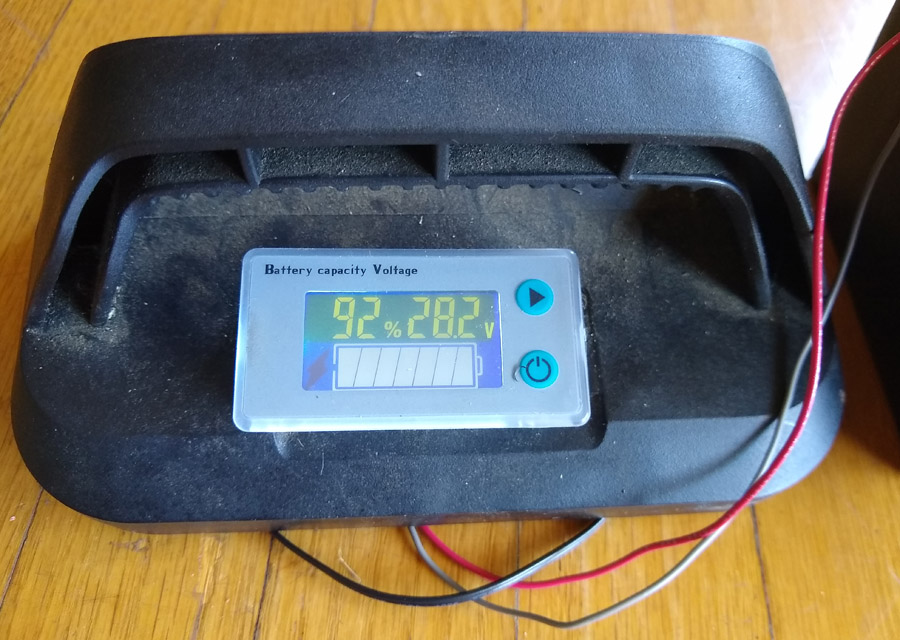
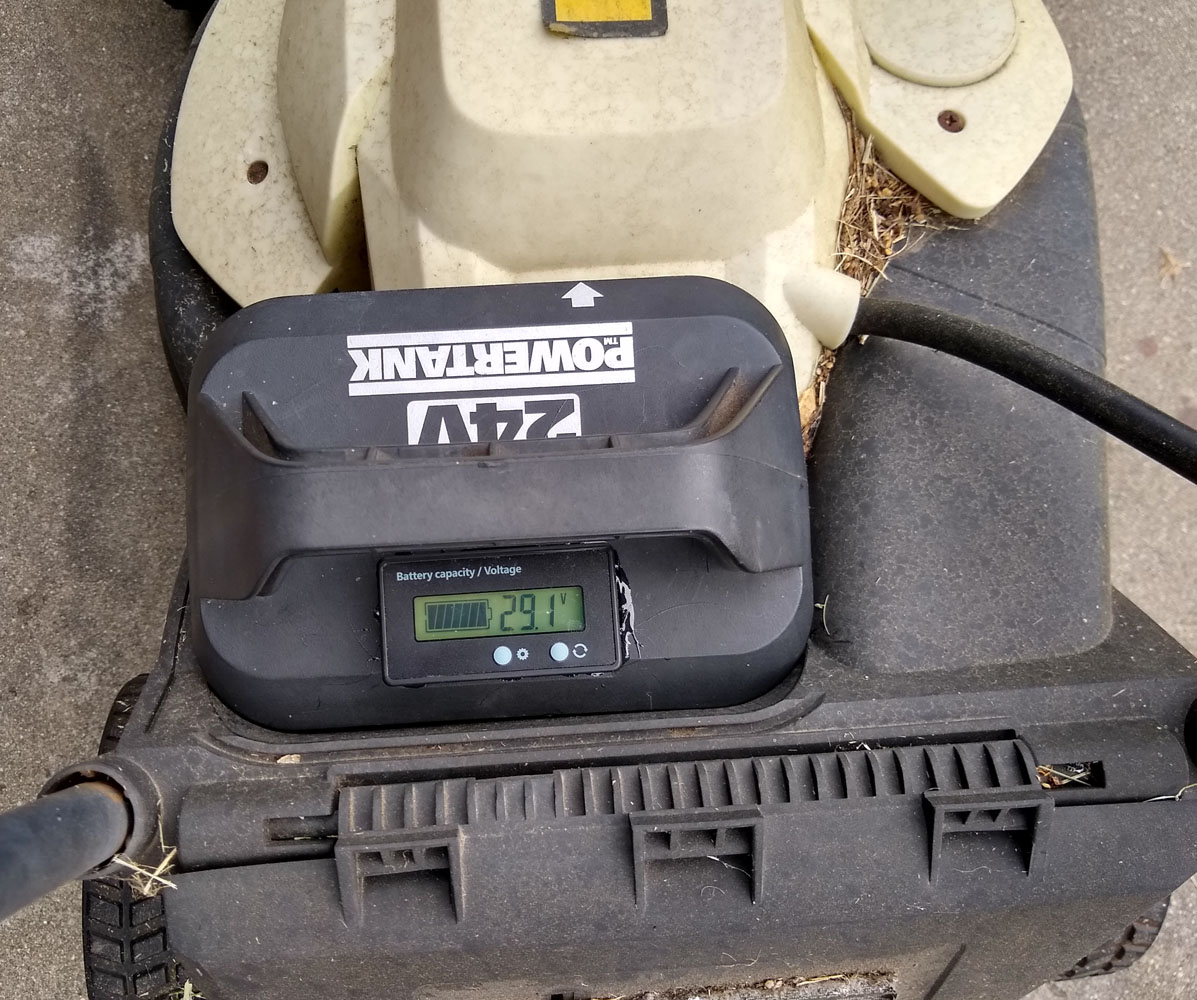
One of the meter settings allows you to also read the battery voltage. (The voltage and percentage readings toggle back and forth every few seconds).
(Click on this image to see a larger picture.)
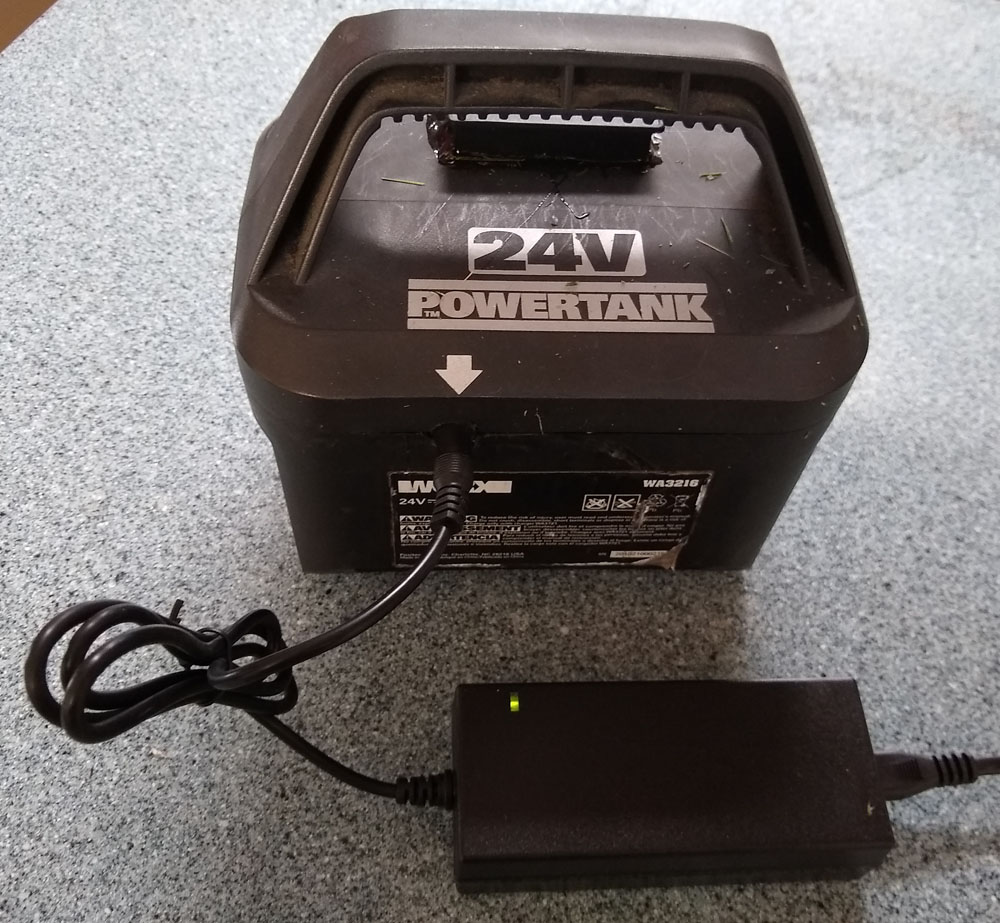
Before using the battery in your mower for the first time, remember to fully charge the battery.
(Click on this image to see a larger picture.)
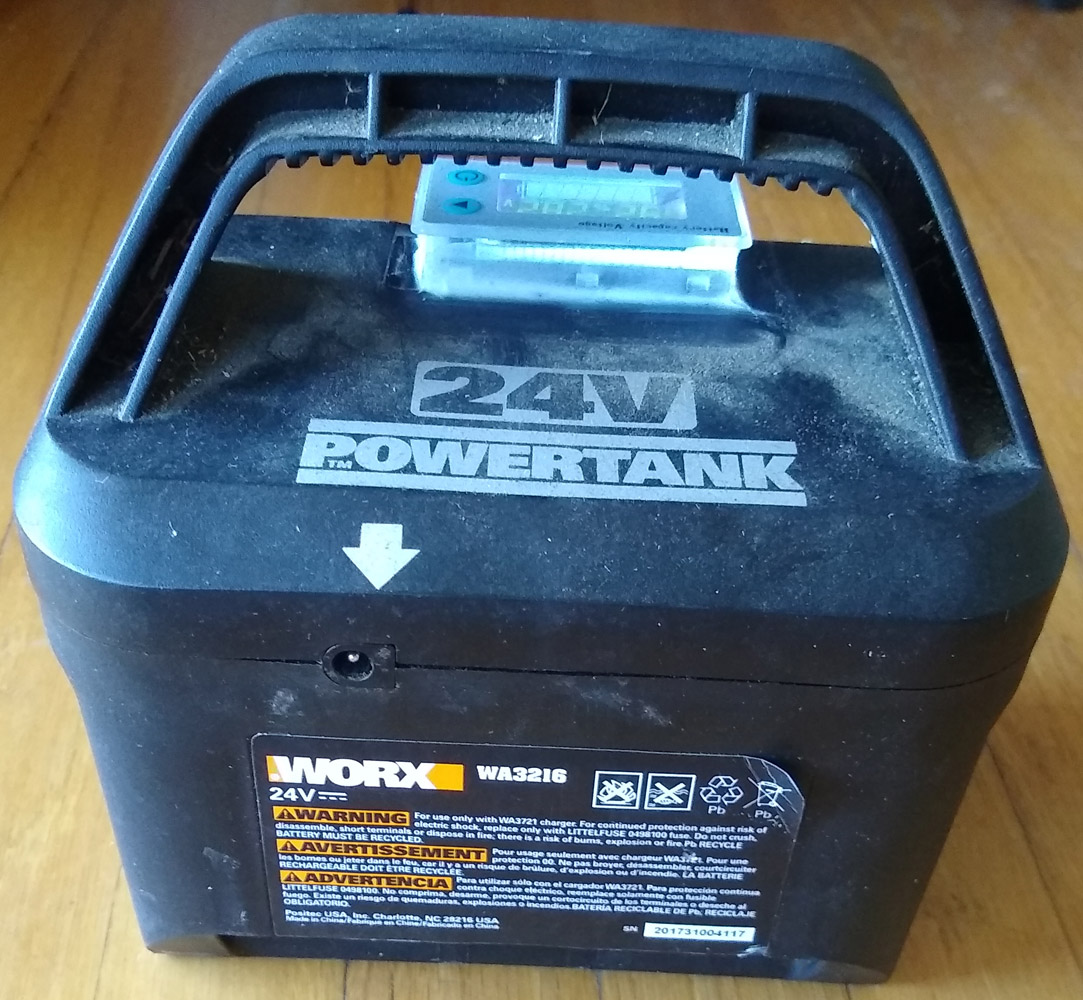
You can see that I used epoxy to attach the meter to the top of the battery case. Slide the battery into the mower as usual and you are ready to go. I noticed that the mower was more powerful (because the lithium battery voltage is higher than the lead-acid battery) and that the mower would last more than twice as long as a new lead-acid battery would.
(Click on this image to see a larger picture.)